Well, it has been a good week. Fun, creative, and productive. I am proud of myself for doing what I said I would do--got "in the studio" by 8:30 a.m., which also stopped me from going back to bed and wasting the day. I also managed to avoid floundering about what I wanted to do, thanks to all the thinking I did in the last couple of weeks about what I hope to achieve this year. I've got goals! :-)
These first pics are of the little book I cut pages for last week, mentioned in my last blog post. I made covers for it from white presentation board. So far I have decorated only the front of the front cover, but I was pleased with it. The tree is from a KaiserCraft wood piece (used as a mask), and the rest of the materials used include Adirondack Color Washes, thin Prismacolor markers, Distress Ink pads, and Sharpie poster paint markers.
 |
| I love trees, with or without leaves |

 |
| Doodle close-up |
Another thing I am really quite pleased with is that I did something new this week: carved my own stamp! Traci Bautista's Strathmore workshop had me thinking about this yet again, as I have many times before, and then when I was wandering around Jerry's Artarama early last week I noticed that they had a new kit by Speedball for stamp carving. Clearly a sign that I was meant to get it and do it! It is one more way for me to make my art my own. The kit came with a small piece of pink rubber block, a knife handle and two tips, and tracing paper. I searched my drawers of stuff for a suitable image and ended up using the top of the palm tree from the Mexican loteria cards (#51). Traced, transferred, and carved. It was so much easier than I expected it would be! I added the lines within the design myself. It may not look like much to anyone else, but I love it.

 |
| Small boards (3-1/2" square) covered with scrap from the big notebook |
The little book came out quite cute. As the covers are 3-1/2" square, I cut the pages to be 3-1/4" square. I used many different shades of Archiver's card stock that I thought would look good with the book cover: kraft, cabernet, pomegranate splash, pastel yellow, carob cream, neutral tan, pear crush, natural, cream white, sugar cream, and fudge cover. The point was for this to be quick and easy (and not lay around half-finished for weeks or months), so I used my new Cinch 2 that I got in a great post-Thanksgiving Day sale. Worked great!


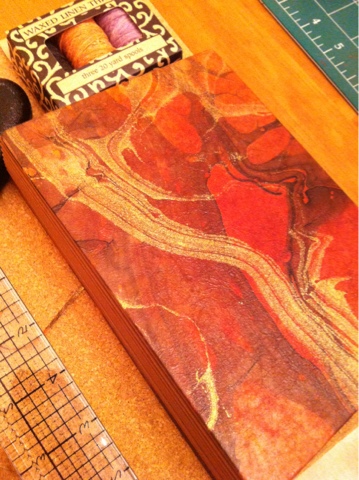
 |
| Front cover, added to a 5x8" lined notepad from Office Depot |
 |
| The inside has a pocket; I covered up the Office Depot logo as best I could with lace tape |
So upcoming this week I seem to have lots of social engagements and not that many days of uninterrupted creative time. Thus I am setting goals that I think I can accomplish without pressurizing myself: do the last week of Traci Bautista's workshop, and complete the caterpillar book. Ought to be able to get my head around that!